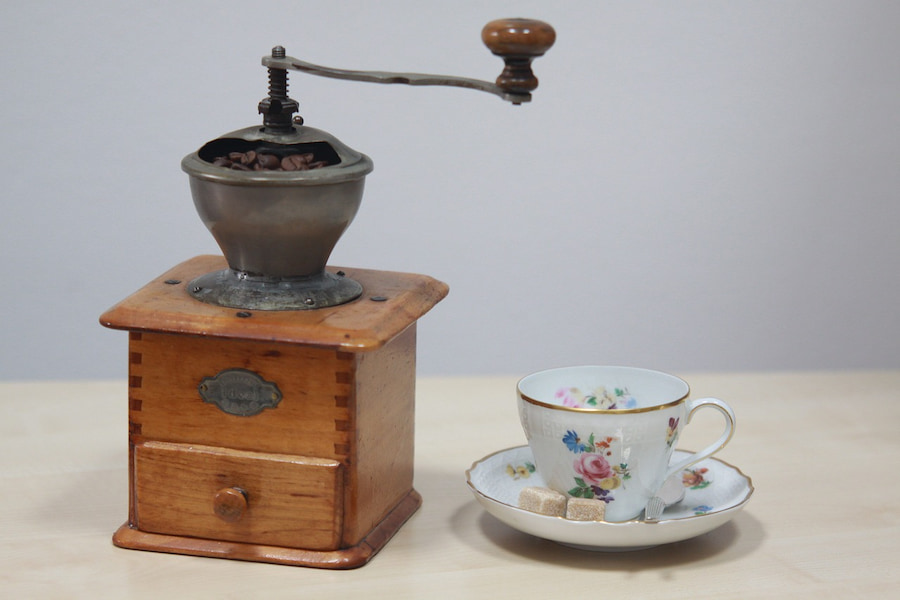
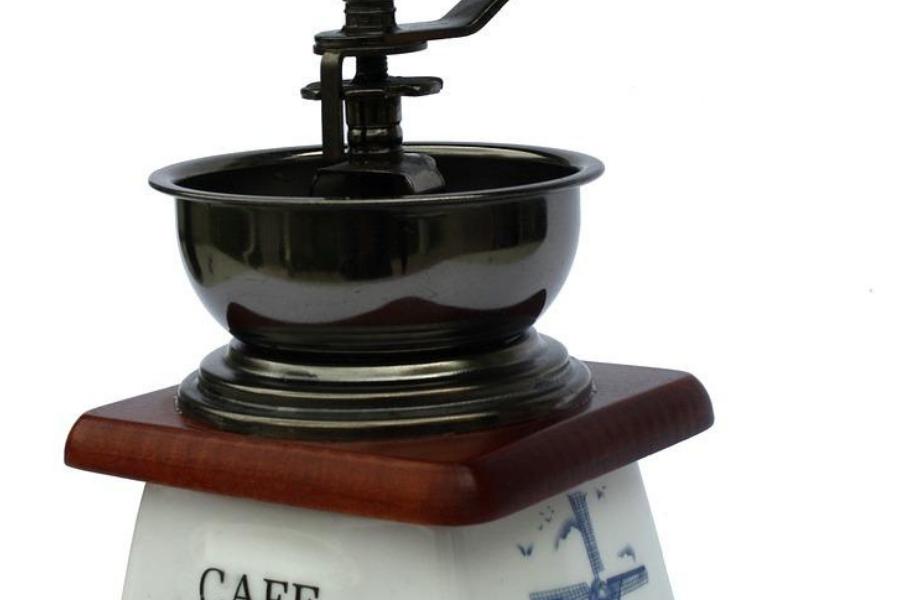
The hand crank coffee grinder grinds coffee beans into fine, medium, or coarse grounds. It is an eco-friendly alternative to electric grinders. It may take some time to understand how to clean a hand-crank grinder. However, once you get the hang of it, you’ll be able to do it with ease.
Contents
How to Clean a Hand Crank Coffee Grinder
A clean grinder will ensure that your coffee tastes great every time. It will also prevent the build-up of stale oils, which can cause unpleasant odors and flavors in your coffee.
To clean a hand crank grinder, remove any excess coffee grounds from the grinding chamber and the chute. Use a small brush or pipe cleaner to scrub out any remaining grounds.
Use warm water and soap to wash the internal parts of your hand grinder thoroughly. Dry them with a towel or allow them to air dry before reassembling your coffee grinder.

Parts of a Manual Coffee Grinder
The design of the manual coffee grinder varies from model to model, however, there are some basic parts that every grinder should have. These include:
- The Handle: This is where you will grip the grinder when grinding beans. It should be comfortable in your hand and easy to use for long periods without causing hand cramps.
- The Grip: The grip is a small piece of plastic or rubber that helps you hold onto the handle while grinding beans. It prevents you from accidentally dropping the device onto your foot or another body part while using it.
- The Bracket: The bracket allows you to attach the hopper screw and burr set into place on top of the grinder’s base plate. It also helps stabilize them during use, so they don’t come loose unexpectedly during grinding operations.
- The Hopper: The hopper is the storage area for the coffee beans. Usually made from metal or plastic, it’s where the beans go before they’re ground.
- The Burr: The burr set is what does all the grinding work. There is a lower burr and an upper burr (also called a counterweight). The lower burr has teeth that dig into the coffee beans as you turn the crank handle. The upper burr moves back and forth in relation to the lower burr, helping to keep everything in place during operation.
A Step-By-Step Cleaning Guide
If you have a hand-crank coffee grinder, you know what a pain it can be to clean. The process involves removing all parts, cleaning them, and then putting them back together again.
There’s nothing like the feeling of brewing up a cup of nasty coffee since you haven’t cleaned your hand crank coffee grinder in months. That’s why regular cleaning is essential for quality brews.
Cleaning your grinder is easier than you think. Here are the items and tools you’ll need:
- A soft cloth or sponge
- Soap-free cleaning solution
- Rubber gloves (optional)
Step 1: Remove the Crank
First, remove the crank from the handle and place it on a piece of paper towel or newspaper. If your grinder has an adjustable knob at the top of the handle, turn this knob all the way counter-clockwise until it stops.
If there is no knob on your grinder, pull off the handle by unscrewing it with a screwdriver or wrench.
Always remove the crank before attempting to clean your hand-crank grinder. Also, remove any remaining grounds from inside your grinder before moving on to step two below.

Step 2: Remove the Burr
Turn over your grinder to look at the bottom of it. You’ll see a screw that holds a small piece of metal that looks like two pieces.
This is what grinds up your coffee beans into powder form. Remove this screw with a head screwdriver, and then pull out all attached pieces (this may take some effort).
Step 3: Clean the Hopper
Use a toothbrush or kitchen brush to clean out any remaining grounds inside your hopper before drying thoroughly with paper towels or cloths.
Wipe down all surfaces with warm water and soap, making sure to get into all corners and crevices where coffee grounds may be hiding.
Rinse thoroughly, using as little soap as possible — too much soap can leave a residue behind that will affect how well your coffee tastes!
Step 4: Clean the Burr Casting
If there are residual coffee grounds stuck inside the burrs, you can use a toothbrush or pipe cleaner to scrub them out gently.
If you have stubborn grounds stuck inside your grinder, try soaking them overnight in warm water with a few dish soap or vinegar drops. Then rinse them off thoroughly before putting everything back together again!
Step 5: Wipe Down the Exterior
The exterior of your grinder will require a little more attention than other parts of your device did because there are more crevices and places that you may not have been able to reach with just your brush alone.
Use paper towels or rags here instead of just wiping down with water alone. Using these items will help ensure that no moisture gets inside your device while still getting rid of any dust or dirt particles on its surface.
Step 6: Reassemble the Grinder
Now that your grinder is clean and dry, it’s time to reassemble it. First, place the teeth of the grinding chamber back into their original position inside the hopper. Then, put the burr back in place and tighten the bolt on top of it until snug. Your grinder should be ready for use again!

Cleaning Tips and Suggestions
Do not place the grinder on a wet surface like a kitchen countertop, as this may cause damage to your appliance. To keep your grinder from getting rusty, wipe it down with a dry cloth after every use and store it in its original box when not in use. You can also store it in an airtight container filled with rice to absorb any moisture inside it after each use.
If you have hard water at home, consider using bottled water to make coffee with your hand crank coffee mill instead of tap water because the minerals present in tap water can build up inside the device and cause corrosion damage to its parts.
Rice is a great way to clean out your hand-crank coffee grinder because it absorbs all oils and builds up from your coffee beans. You can also use salt, flour, or oatmeal to clean out your grinder!
How Often Must I Clean a Grinder?
Cleaning your grinder should be done every few days, depending on how often you use it! If you are making large batches of coffee. Performing one or two more thorough cleanings every year is enough to keep your grinder in top condition for years.
Grinding coffee beans releases oils that can quickly make your grinder a sticky mess. Allowing the build-up to accumulate for too long can harm your grinder and even cause it to fail, so it’s important to clean the machine thoroughly regularly.
Maintenance Tips
Wash parts with warm soapy water immediately after each use – this will keep any oils or residue from building up inside the machine over time which can cause damage later on.
If you don’t wash out all of the grounds right away, they can dry out and cake up inside your grinder, making them harder to clean later. You should also make sure that all of the parts are completely dry before putting them back together again, or else.
Conclusion
A manual grinder is a great tool for grinding your beans. It is much cheaper than an electric model and easier to clean. The only problem is that it can get dirty quickly if you don’t clean it regularly. Follow these tips to master how to clean your hand crank coffee grinder.


