
Beginner’s Guide to Brewing Espresso at Home (Updated 2026)
Good home espresso starts with a capable grinder, a warmed and clean machine, measured inputs, and one adjustment at a time.
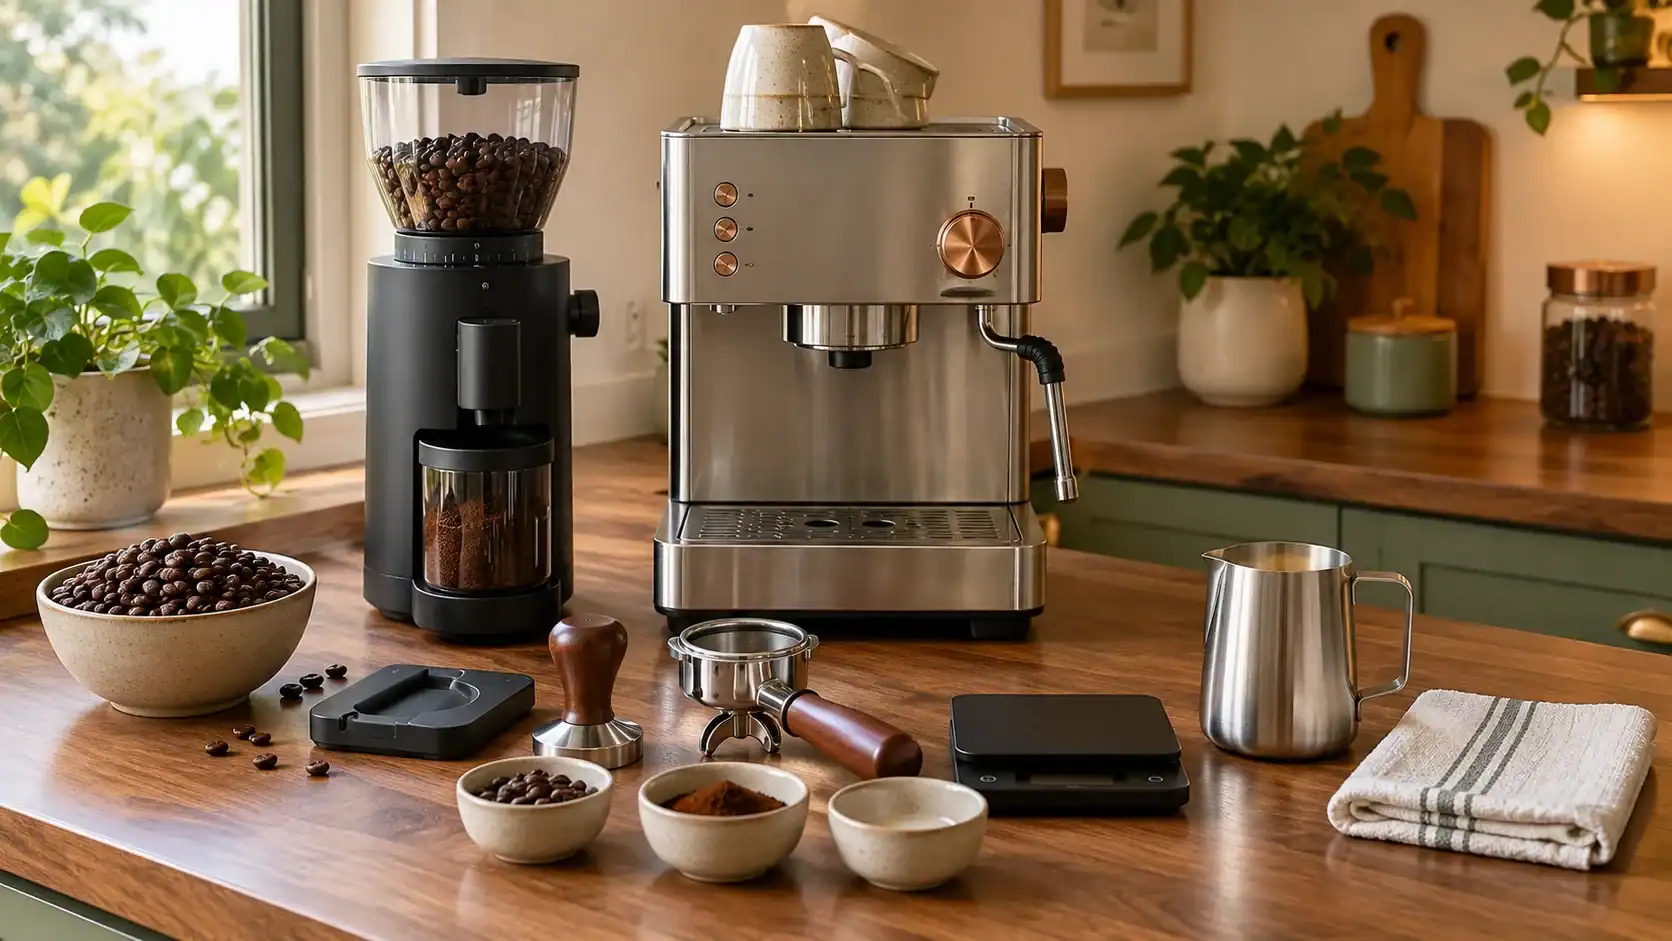
Good home espresso starts with a capable grinder, a warmed and clean machine, measured inputs, and one adjustment at a time. The dependable principle is easiest to use when it is separated from the details that vary by coffee, equipment, recipe, and personal taste. That distinction matters because coffee language often sounds more exact than it is.
Espresso is a concentrated beverage made by forcing hot water through a compact bed of finely ground coffee. The grinder, puck preparation, water, temperature, pressure, dose, and yield work together, so a machine alone does not guarantee a good shot. The useful approach is to begin with a sound baseline, observe the cup or equipment, and make one change at a time. You do not need perfect laboratory control, but you do need enough consistency to know which change produced the result.
What the term means in practice
Use fresh coffee, weigh the dose and beverage, distribute evenly, tamp level, and begin with the basket and roaster guidance. Let taste lead the adjustment: move finer or increase yield when the shot is sharply sour and thin, and move coarser or reduce yield when it is harsh, dry, or very slow. Treat that as a starting point rather than a rigid promise. Coffee is an agricultural product, recipes differ, and equipment designs create their own boundaries. When a package, brewer manual, café menu, or roaster provides a specific definition, use that information for the product in front of you.
A useful explanation should also say what the answer does not mean. It does not guarantee the same flavor, strength, caffeine, shelf life, or performance in every situation. The goal is to give you a reliable way to make the next decision, then let taste, observation, and manufacturer guidance refine it.
What changes the result
- 1. Coffee age and roast, grinder burrs, grind setting, dose, distribution, and tamp.
- 2. Basket size, beverage yield, shot time, water, temperature, pressure, and machine warmup.
- 3. Milk texture, cleaning routine, counter workflow, and the current machine and grinder instructions.
These variables interact. Changing several at once can make a good result difficult to repeat and a bad result difficult to diagnose. Keep a brief note of the coffee, equipment, amount, time, and outcome. That simple record turns a vague impression into a useful comparison.
Water and freshness deserve special attention in almost every coffee question. Clean water with a balanced mineral level supports extraction, while stale coffee can flatten aroma and make technique changes seem ineffective. Clean equipment prevents old oils and residue from becoming part of the flavor.
A practical method
- Step 1: Warm the machine and portafilter fully, then flush or prepare it as the manual directs. This keeps the decision observable and makes the next adjustment easier to judge.
- Step 2: Weigh a dose suited to the basket, grind immediately, distribute evenly, and tamp level. This keeps the decision observable and makes the next adjustment easier to judge.
- Step 3: Brew onto a scale, record dose, yield, and time, then stir and taste after it cools slightly. This keeps the decision observable and makes the next adjustment easier to judge.
- Step 4: Change only grind or yield first, repeat the better shot, and clean the group and steam wand. This keeps the decision observable and makes the next adjustment easier to judge.
After the first attempt, judge the result when it is safe and at a useful tasting temperature. Aroma, sweetness, acidity, bitterness, body, texture, and finish provide more information together than any single visual cue. Repeat the best version before deciding that you have found a permanent setting.
Common mistakes to avoid
- Buying a machine without budgeting for an espresso-capable grinder. Correct it by returning to the basic method, checking one variable, and comparing the next result.
- Changing dose, grind, yield, and temperature at the same time. Correct it by returning to the basic method, checking one variable, and comparing the next result.
- Using shot time or crema as the only definition of success. Correct it by returning to the basic method, checking one variable, and comparing the next result.
Another common mistake is treating an informal coffee term as a regulated standard. Roast names, café drinks, serving sizes, grinder numbers, and strength labels often vary. Specific weights, ratios, model instructions, and ingredient lists are more dependable than assumptions based on a name.
How this fits with other coffee decisions
This topic connects naturally with How Do You Know When a Moka Pot Is Done?, Why Is Geisha Coffee So Expensive?, How Should Espresso Taste?, Best Coffee Mugs for Keeping Coffee Hot. Those guides help you move from a single answer to a complete routine, whether you are choosing coffee, measuring a recipe, troubleshooting flavor, or caring for equipment.
Use the related guides when you need to compare measurements, brew methods, storage, or equipment care. Start with the page that matches the decision in front of you, keep the rest of the setup consistent, and follow the current manufacturer instructions whenever a specific machine, filter, grinder, or accessory sets a safety or compatibility limit.
Sources and further reading
Frequently asked questions
What ratio should a beginner try?
A beverage near twice the dry coffee dose is a practical starting point, but basket, coffee, roast, and taste may call for a different yield. Use the product instructions or café recipe when it defines the term more narrowly.
Do I need to tamp with maximum force?
No. A level, repeatable tamp matters more than extreme force. Use the product instructions or café recipe when it defines the term more narrowly.
Why is the shot spraying?
Uneven distribution, a tilted tamp, excessive headspace, damaged equipment, or too-fine coffee can contribute to channeling. Use the product instructions or café recipe when it defines the term more narrowly.
The takeaway
Use fresh coffee, weigh the dose and beverage, distribute evenly, tamp level, and begin with the basket and roaster guidance. Let taste lead the adjustment: move finer or increase yield when the shot is sharply sour and thin, and move coarser or reduce yield when it is harsh, dry, or very slow. Begin with the practical method above, keep the setup consistent, and make small changes based on what you observe. That produces a more dependable answer than chasing a universal rule that ignores the coffee or equipment in front of you.
Reviewed October 12, 2026. Recheck the coffee label or the current manufacturer instructions whenever a recipe, capacity, care step, or safety limit depends on a particular product.