
Reviewed and updated: October 31, 2026
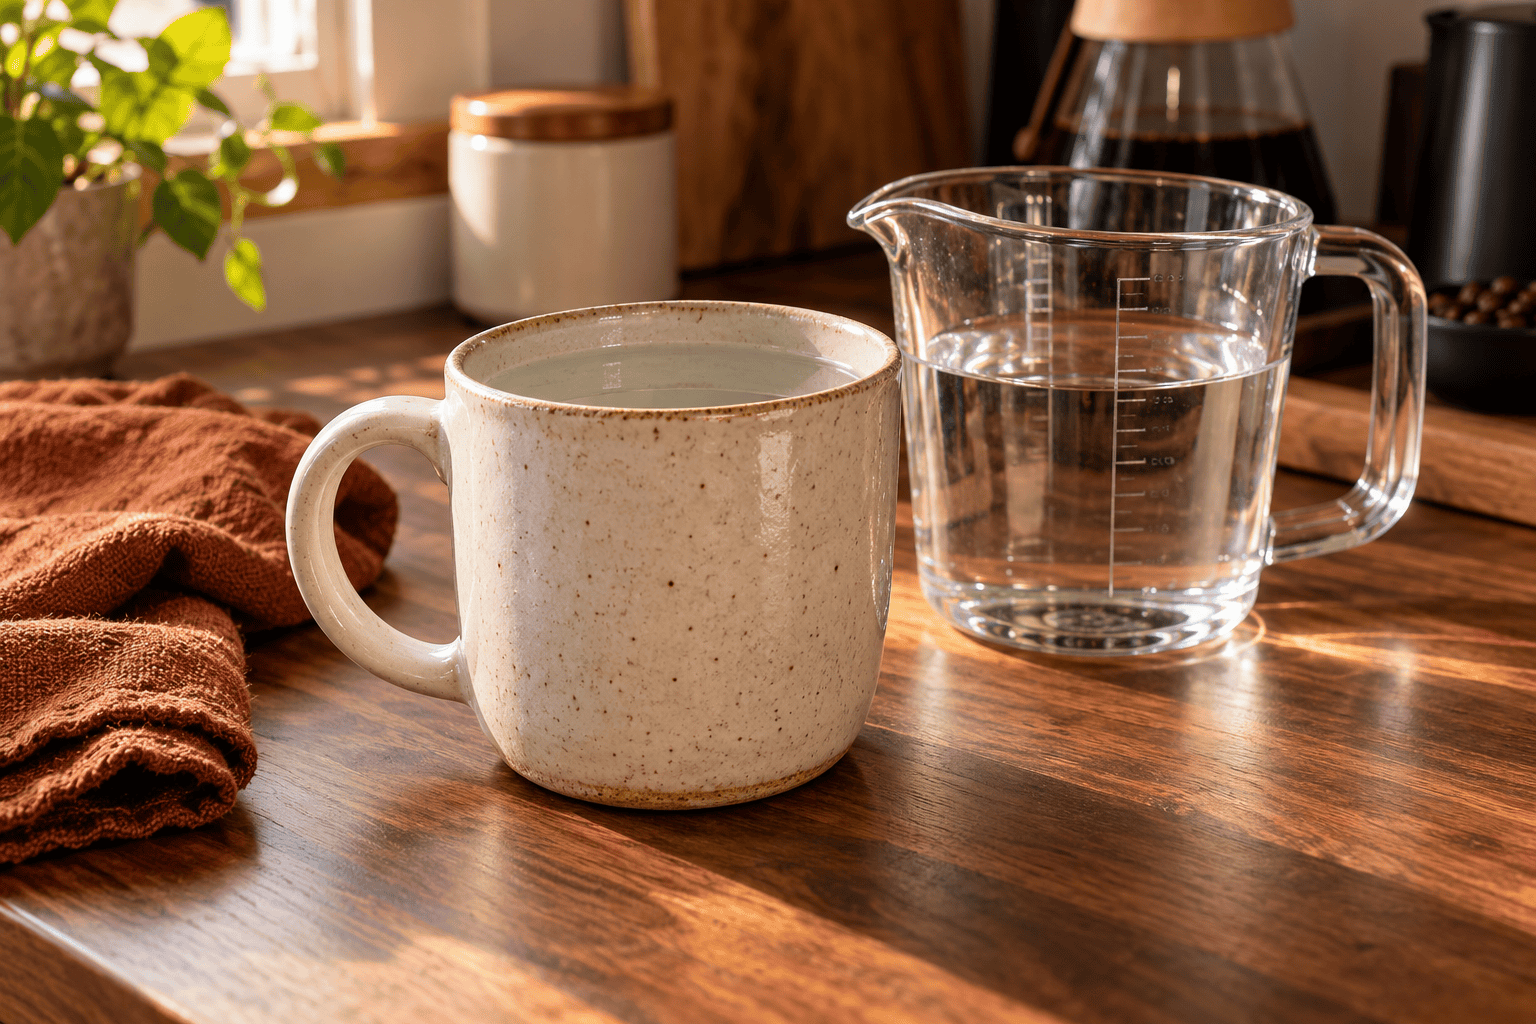
A mug’s advertised capacity is often the amount it holds close to the rim. That is not necessarily the amount of coffee you can brew into it comfortably, carry across the kitchen, or top up with milk. Measuring the space you actually use helps prevent spills and makes a familiar recipe easier to repeat when you change cups.
You can do the check with cool water, a kitchen scale or measuring jug, and the mug you already own. There is no need to waste coffee or handle hot liquid. The useful result is a practical serving volume for your routine, with room for anything you add and enough space to move the cup safely.
Separate the rim from your serving line
Put the clean mug on a stable counter and look at the inside shape. A wide mouth, narrow base, thick rim, or curved wall can make the same liquid volume look quite different from one cup to another. Choose a conservative line below the rim that you can recognize and that feels comfortable for normal use.
Do not fill to the very top as a test of how much you can carry. Keep the experiment over a protected surface and use cool water. A practical serving line should allow ordinary movement without requiring you to balance the mug carefully. If you use a lid, check the maker’s fill limit and allow for any part that enters the cup.
Measure with a jug if that is what you have
Add a known amount of cool water, then adjust gradually until it reaches your chosen line. Read the jug at the level its markings require, rather than looking down at an angle. Pouring in several small increments can be easier than trying to stop a large pour exactly. Record the total you added.
If the jug has coarse markings, treat the result as an approximate working volume. You do not need laboratory precision to learn that a mug is better suited to a smaller serving. Use the same jug and reading method when comparing another cup; consistency makes the comparison more useful than a falsely precise number.
Use a scale for a simple second method
Place the dry mug on the scale and zero it. Add cool water to the serving line and read the mass. For this kitchen check, grams of water provide a useful approximation of milliliters; it is not a rule for converting the mass of every drink ingredient into volume. Record the water amount and the line you used.
Make sure the scale can support the mug securely and that you remain within its capacity. Keep water away from the scale’s controls and follow its care instructions. If you lift the mug away and return it, check that the reading remains stable. A wobbly platform or an accidental reset can turn an easy measurement into a confusing one.
Reserve space for milk and other additions
Decide what a normal finished drink includes. If you add milk, the coffee itself must occupy less than the final serving volume. Test the proportions with cool water in separate measured amounts: one amount representing coffee and another representing milk. This shows how much room each part uses without committing to an actual drink.
Foam needs separate thought because it occupies space differently from liquid milk. Leave a sensible margin and use the markings or guidance that come with your frother. Avoid assuming that a mug suitable for black coffee will hold the same coffee portion plus a generous milk topping. The finished drink, rather than the coffee alone, determines whether the cup fits.
Distinguish brew water from beverage yield
In pour-over, some water stays in the coffee bed and filter, so the water you pour is not identical to the coffee that reaches the mug. A recipe that begins with a particular water amount should not be treated as a guarantee of the same finished volume. Measure the result of your own repeatable setup if cup capacity is tight.
Our guide to dialing in a coffee-to-water ratio explains how to organize the recipe itself. Keep the mug measurement as a separate note. That makes it clear whether you changed the coffee recipe, the final serving size, or simply the container used for a drink you already enjoy.
Check the brewer’s physical clearance
Capacity is only one part of compatibility. Place the empty mug beneath the brewer or dripper and check its height, opening, handle clearance, and stable position. A cup can hold enough coffee yet sit too close to the spout or have an opening that makes the pour awkward. Follow the brewer’s instructions for supported vessels and placement.
Do not improvise a tall stack under a dripper or remove a required part of a machine to make a favorite mug fit. Choose a suitable receiving vessel and transfer only when the equipment and drink can be handled safely. For a travel mug, check lid clearance and the drinking mechanism as well as the space available during brewing.
Give each frequently used mug a short note
Write the mug’s description, working volume, and usual additions in a kitchen note or your coffee log. “Cream mug, coffee to the inside curve, room for milk” may be easier to use than a number alone. If two mugs look similar, add a simple identifying feature rather than relying on memory before the first coffee of the day.
Our guide to keeping useful brew notes can help keep the record brief. The goal is not to weigh every finished drink forever. It is to establish a sensible starting point, especially when a new mug makes an old recipe suddenly seem too small or too close to overflowing.
Compare cups with the same test
When comparing two mugs, use the same cool-water method and a similar practical margin. You may find that a short wide cup and a tall narrow cup hold similar working amounts but feel different to carry. Consider handle comfort, weight when filled, and where the cup will sit. A large empty mug can become awkward once the drink is added.
Look at cleaning access too. A lid, narrow opening, or deep curve may affect how easily you can reach and inspect the inside. Follow the mug’s cleaning guidance and check that parts can dry properly. Capacity alone does not tell you whether a cup will be pleasant to use every day.
Recheck when the routine changes
Repeat the cool-water check if you add more milk, change lids, switch brewing methods, or start carrying the drink farther. A desk mug and a cup used on stairs have different practical demands. Leave more room when necessary instead of trying to preserve a serving size that no longer suits the situation.
Once you know the usable capacity, choosing the amount to brew becomes straightforward. Start below your working line, account for additions, and observe the actual yield from your brewer. A small measurement made with cool water can prevent repeated hot spills and help your favorite mug fit the coffee routine you really have.