
Reviewed and updated: October 18, 2026
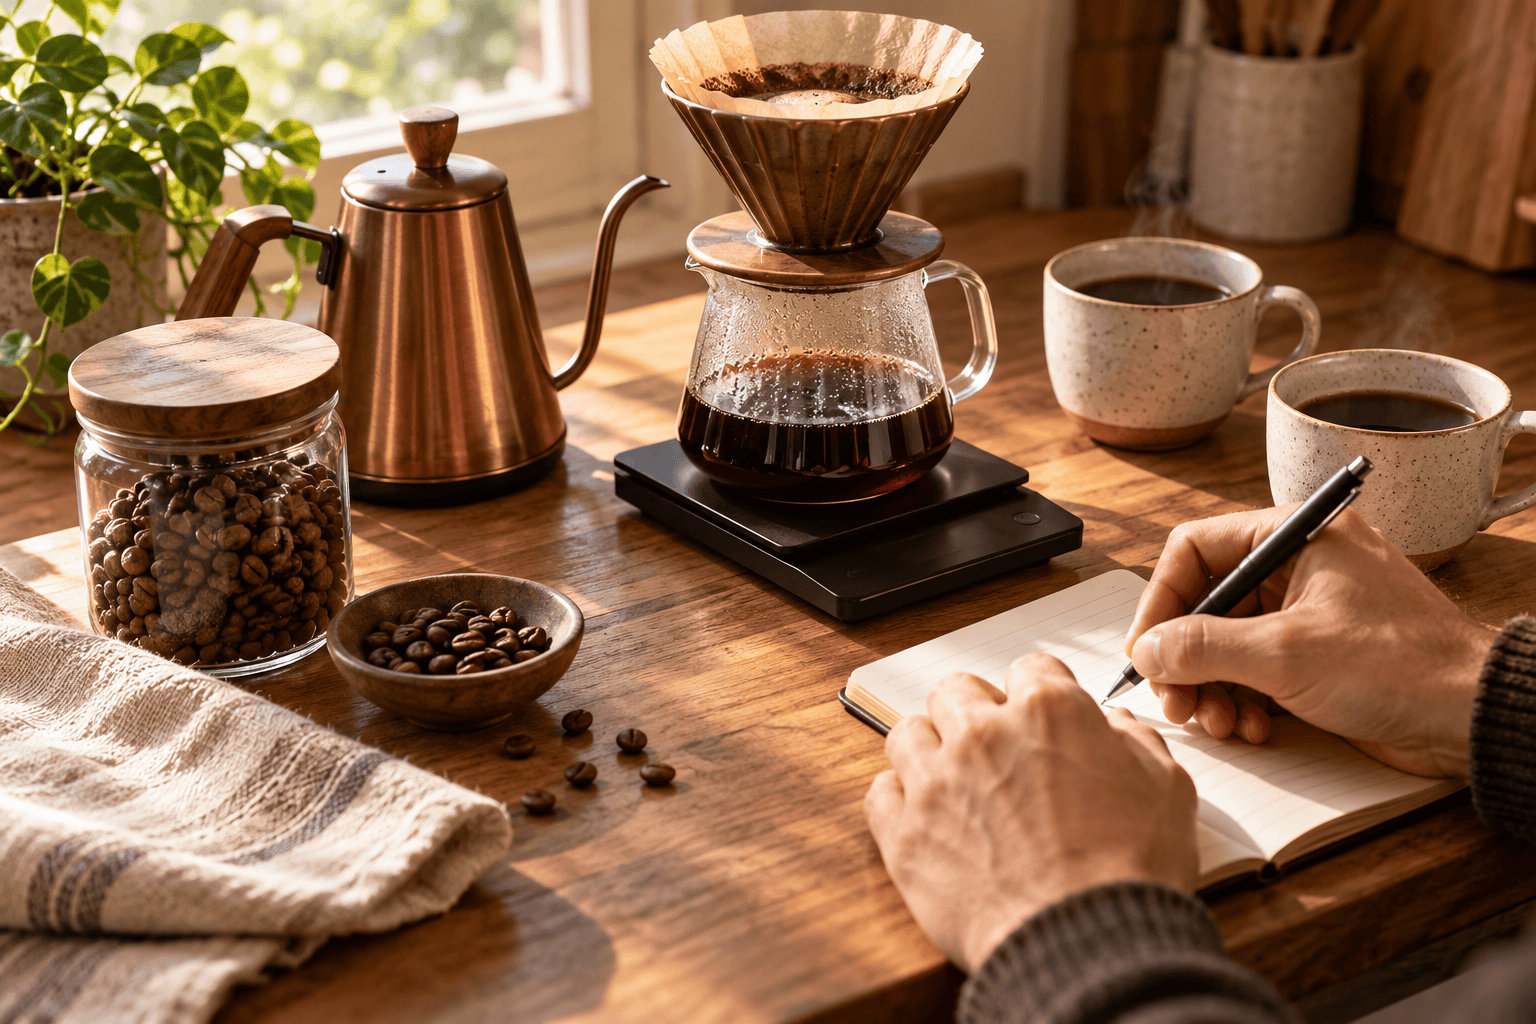
Useful brew notes record only the variables you can repeat: coffee, dose, water, grind, temperature, time, technique, and one clear change for the next cup.
This guide was reviewed against current official product information where a model is discussed. Specifications and packages can change, so verify the exact label or manufacturer page before acting.
Write the coffee identity first
Record roaster, coffee name, origin or blend, roast date when provided, and the date you opened the bag. Add the brew date because coffee changes after opening. Do not rely on bag color or memory when several coffees are on the shelf. If the label gives a processing method or roast description, copy it exactly rather than translating it into a flavor promise. The goal is to recreate the context of the cup, not to prove that every tasting note printed on the bag appears.
Use grams for dose and water
Write dry coffee mass and total water mass. Ratios become easy to compare when both are measured in grams, and the record remains useful if you change brewer size. Note whether the water number is the amount poured or the final beverage mass. Those are different because grounds retain water. If the scale drifted, the brewer overflowed, or you stopped the pour early, write that down. Honest notes explain an unusual cup better than a clean-looking number that was not actually achieved.
Describe grind with a reference
A grinder number is useful only with the grinder name, burr set, and calibration context. Write the model and setting, then add a practical description such as slightly finer than the previous cup. Do not compare numbers across unrelated grinders as if they mean the same particle size. After cleaning or recalibration, make a note because the old setting may behave differently. Change grind one step at a time, and purge only the small amount your grinder instructions recommend.
Record water and temperature
Water chemistry changes extraction and flavor, so note tap, filtered, bottled, or a known brewing recipe. Record temperature only if measured or controlled; otherwise write the kettle behavior, such as thirty seconds off boil. Altitude and kettle design affect boiling. Avoid false precision. A stable water source and repeatable temperature routine teach more than a number copied from someone else's recipe. If scale, thermometer, or kettle behavior seems wrong, check the tool before blaming the coffee.
Capture the timeline that matters
For pour-over, record bloom water and time, number of pours, and total drawdown. For immersion, record steep and release time. For espresso, note dose, beverage mass, and shot time from a consistent start point. Do not write every second if you cannot act on it. Mark interruptions, channeling, a stalled bed, or a filter that folded. A timeline is useful because it links technique to flow, but taste should decide the next adjustment rather than the clock alone.
Use plain sensory language
Start with temperature, strength, sweetness, acidity, bitterness, dryness, and aftertaste. Specific fruit or chocolate words can follow when they are clear. Avoid copying the bag notes before tasting because expectation changes attention. Take one sip hot, one warm, and one cooler. Write what changed. A cup can be bright without being sour and strong without being bitter. Simple language makes comparisons easier and helps another person understand the result without sharing your entire flavor vocabulary.
Choose one next change
End every note with one action: grind one step finer, use two grams less water, shorten agitation, lower temperature slightly, or repeat the recipe unchanged. Changing dose, grind, temperature, and pouring together hides the cause. If the cup was good, the right experiment may be no change at all. Repetition tests whether the result was skill or luck. Keep safety and equipment limits in view; never modify pressure, electrical parts, or grinder internals beyond the manufacturer's instructions.
Review patterns, not isolated scores
After several brews, look for repeated relationships. Perhaps a coffee tastes clearer with less agitation, a brewer drains faster with one filter, or your preferred ratio changes with roast style. Do not turn three cups into a universal rule. Use notes to shorten the path to a satisfying cup and to notice when equipment needs cleaning or coffee has aged. Archive the final working recipe on one line so it can be found quickly while leaving the experiments behind it.
Quick checklist
- Record coffee, opening date, and brew date.
- Use coffee and water mass in grams.
- Name the grinder and setting.
- Note water source and temperature method.
- Describe taste in plain comparative words.
- Choose only one change for the next cup.
Why these checkpoints matter
- Record coffee, opening date, and brew date. This defines the starting condition and prevents the rest of the process from resting on an assumption.
- Use coffee and water mass in grams. This narrows the choice to evidence you can verify on the exact label, model, or scene.
- Name the grinder and setting. This checkpoint reduces avoidable risk before another variable is introduced.
- Note water source and temperature method. This keeps the routine compatible with the person, product, material, or equipment involved.
- Describe taste in plain comparative words. This creates a repeatable step instead of relying on memory or marketing language.
- Choose only one change for the next cup. This final review catches changes in condition, availability, or instructions before the next use.
Common questions
Do I need a special app?
No. A small notebook, spreadsheet, or notes app works if you can find and compare entries.
How many variables should I change?
One at a time whenever possible. Repeat a good recipe before declaring it solved.
Should I score every cup?
A score is optional. Plain notes about strength, sweetness, acidity, bitterness, and aftertaste are usually more actionable.
Keep the decision useful
Write down the exact model, label, starting condition, and result. Change one variable at a time and return to the official instructions when anything is unclear. A short record makes the next decision easier and keeps an isolated result from becoming a rule that does not fit a different product, person, material, or environment.
Review the information again before repeating the process. Stop when comfort, safety, condition, or the manufacturer’s instructions provide a reason to stop. A useful routine stays simple because every step answers a real question.
For the next attempt, note what improved, what remained uncertain, and what should stay unchanged. This final check reduces guesswork and helps small problems become visible before they turn into repeated mistakes.
Keep the original instructions, model information, and observations together. Before repeating the process, confirm that the product, setting, environment, and intended result are still the same.