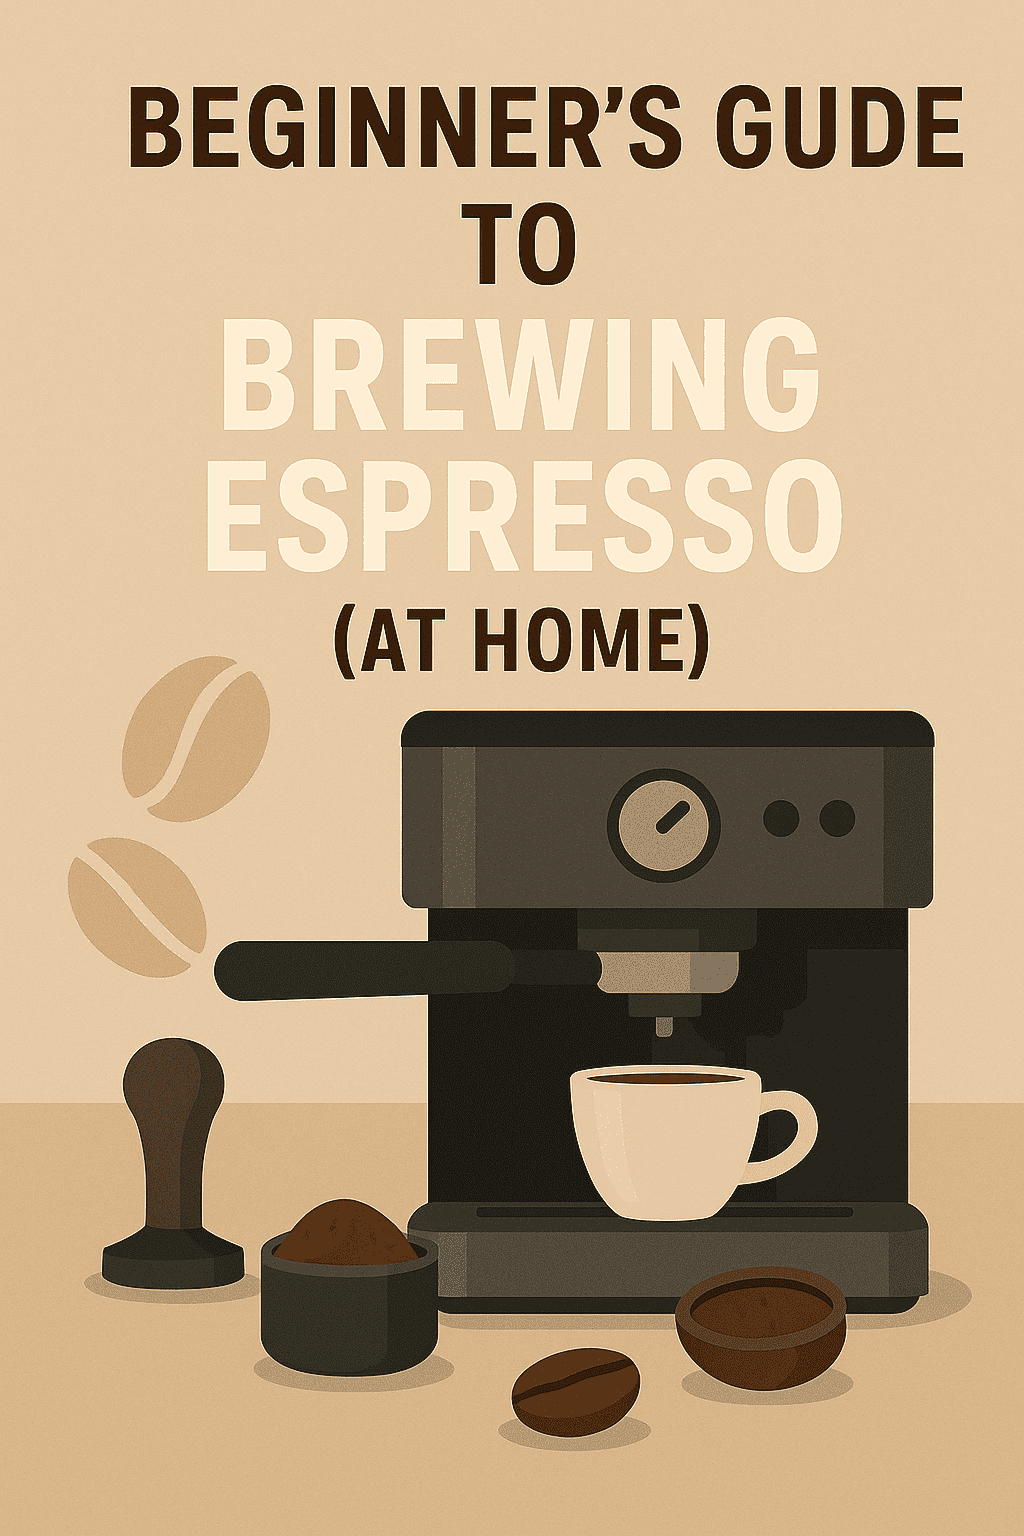
There’s something deeply satisfying about pulling your own espresso shot — the hiss of the machine, the thick crema, the aroma that fills the room. The good news? You don’t need a barista certification or a $2,000 setup. In 2025, you can make café-quality espresso at home for a fraction of the cost — you just need the right tools and a bit of know-how.
This beginner’s guide to espresso at home will walk you through everything: machines, grinders, beans, dialing in your shot, and even frothing milk for perfect lattes and cappuccinos.
Contents
- 🏆 What You’ll Learn
- ☕ Step 1: Choose the Right Espresso Machine
- ⚙️ Step 2: Pick the Right Grinder
- 🌱 Step 3: Choose Fresh, High-Quality Beans
- 💧 Step 4: Dial In the Perfect Espresso Shot
- 🥛 Step 5: Froth Milk Like a Pro
- 🧽 Step 6: Clean & Maintain Your Machine
- 💬 Troubleshooting Common Espresso Problems
- 📈 Sample Espresso Workflow
- 🧠 Final Tips for Home Espresso Success
- 📊 Recommended Starter Setup (2025)
- 🎯 Final Thoughts
- ❓ FAQs
🏆 What You’ll Learn
- The essential gear you need (and what’s optional)
- How to pull a perfect espresso shot — step by step
- How to steam milk for café-style drinks
- Common mistakes beginners make — and how to fix them
Ready to skip the daily café run? Let’s dive in.
☕ Step 1: Choose the Right Espresso Machine
Your machine is the heart of your setup. It controls pressure, temperature, and consistency. Here are our top beginner espresso machines for 2025 — each offering professional-quality results without the pro price tag.
🔥 Best Entry-Level Machines
- Breville Bambino Plus – Best all-around for beginners 👉 Check Price on Amazon
- De’Longhi Dedica EC685 – Slim design, easy to use 👉 View Dedica EC685
- Gaggia Classic Pro – Built like a tank, perfect for tinkerers 👉 See Gaggia Classic Pro
👉 Want more options? Check our Best Espresso Machines for Beginners.
⚙️ Step 2: Pick the Right Grinder
If espresso is art, grind size is the brushstroke. The grind determines extraction and flavor. A consistent grind is crucial — and for that, you’ll need a burr grinder (not a blade grinder).
Recommended Grinders for Espresso
- Baratza Encore ESP – Specifically tuned for espresso fineness 👉 Check Price
- Breville Smart Grinder Pro – Digital precision, programmable doses 👉 View on Amazon
Pro tip: If your espresso tastes sour, your grind is too coarse. If it’s bitter, grind finer. Espresso is all about small adjustments.
🌱 Step 3: Choose Fresh, High-Quality Beans
Espresso needs fresh beans — ideally roasted within the last 2–3 weeks. Look for blends labeled “espresso roast” or “medium-dark” for smooth, balanced flavor. Store them in an airtight container away from light and moisture.
- Lavazza Super Crema – A classic Italian espresso blend 👉 Check Price
- Kicking Horse Cliff Hanger Espresso – Organic, smooth, chocolatey 👉 View on Amazon
💧 Step 4: Dial In the Perfect Espresso Shot
This is where the magic happens — and where most beginners go wrong. Follow this step-by-step process to master the art of espresso extraction.
Step-by-Step Brewing Guide
- Preheat your machine and portafilter (run a blank shot of hot water).
- Grind 18g of coffee (fine grind) and dose into your portafilter.
- Tamp evenly with firm, level pressure (~30 lbs).
- Start your shot. Aim for a yield of 36g in about 25–30 seconds.
- Watch the flow: it should start dark and turn golden.
💡 Perfect shot rule: 18g in → 36g out → 25–30 seconds = balanced espresso.
🥛 Step 5: Froth Milk Like a Pro
If you love lattes, cappuccinos, or macchiatos, milk texture is everything. Don’t worry — you can master frothing in minutes.
Milk Frothing Tips
- Use cold milk (whole milk froths best).
- Submerge the wand tip just below the surface until milk expands ~30%.
- Then lower the wand to mix and swirl — this creates silky microfoam.
- Aim for 140–150°F (use a thermometer if you’re new).
Want to practice latte art? Start with a simple heart. The Bambino Plus makes this easy thanks to its automatic milk frothing sensor.
🧽 Step 6: Clean & Maintain Your Machine
A clean machine is a happy machine. Oils and scale buildup can ruin flavor and shorten lifespan. Here’s your cleaning routine:
- Daily: Empty portafilter and rinse basket after every use.
- Weekly: Backflush with water and wipe the steam wand.
- Monthly: Use a descaling solution to remove mineral deposits.
Read our full Cleaning & Maintenance Guide.
💬 Troubleshooting Common Espresso Problems
- Shot too sour? Grind finer or raise water temp.
- Shot too bitter? Grind coarser or reduce shot time.
- Weak crema? Use fresher beans or tamp more firmly.
- Clogged basket? Soak in detergent and rinse.
📈 Sample Espresso Workflow
- Warm up your machine (5–10 minutes).
- Grind beans fresh.
- Tamp and lock portafilter.
- Pull your shot.
- Steam milk (if desired).
- Wipe, purge, and repeat tomorrow.
👉 Explore Espresso Accessories
🧠 Final Tips for Home Espresso Success
- Use filtered water — minerals affect extraction and flavor.
- Weigh your dose and yield for consistency.
- Keep your beans fresh — air and heat kill flavor fast.
- Practice — dialing in takes a few tries, but results are worth it!
Once you get the hang of it, you’ll never look at café espresso the same way again.
📊 Recommended Starter Setup (2025)
| Item | Model | Price Range |
|---|---|---|
| Espresso Machine | Breville Bambino Plus | $450–$500 |
| Grinder | Baratza Encore ESP | $200 |
| Scale | Hario V60 Drip Scale | $45 |
| Frothing Pitcher | Generic 12oz | $15 |
| Beans | Lavazza Super Crema | $25 |
🎯 Final Thoughts
Making espresso at home isn’t complicated—it’s consistency that counts. Start simple, use quality beans, and invest in gear that grows with you. Within a week, you’ll be pulling better shots than most cafés.
Ready to start? Pick your machine, grab your grinder, and join the home barista revolution.
👉 Build Your Espresso Setup on Amazon
❓ FAQs
Do I need an expensive espresso machine?
No. Machines like the Breville Bambino Plus and Gaggia Classic Pro make real espresso under $500.
How fine should I grind for espresso?
Fine — similar to table salt. A burr grinder ensures consistent size for balanced extraction.
Can I use pre-ground coffee?
It works in a pinch, but flavor and crema suffer. Always grind fresh when possible.
What’s the best milk for frothing?
Whole milk makes the creamiest microfoam, but oat milk and 2% also work well.
How often should I descale my espresso machine?
Every 1–2 months depending on water hardness and usage frequency.


